At Century Studios, we now make all of the Tiffany reproduction lamp bases we offer. At our studio, each base is made individually using the lost wax investment casting process. Our bases are cast in bronze at a local foundry, with brass and copper components incorporated into each base. Creating a lamp base has many steps, from pouring the waxes to wiring the base, all of which is all done by hand. Each of our bases will take several months to complete. We will be showing parts from several different lamp bases in this post, but we will begin with the Square Turtleback base.
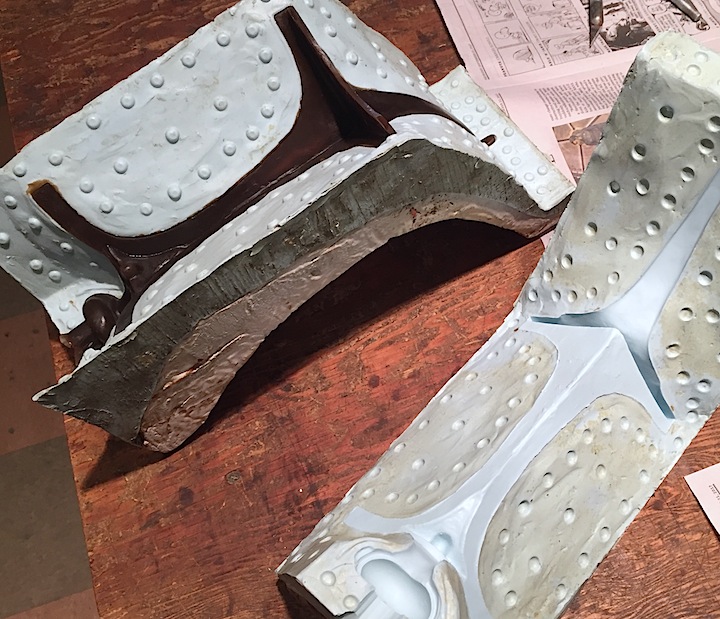
 The process of creating the bronze castings for the Square Turtleback base begins with a quarter section rubber mold that was made from an original Tiffany lamp base. We cast four sections in foundry wax, a dark brown wax that is firm, yet pliable. The mold is filled, and when cool each wax is checked and cleaned by hand to eliminate any imperfections such as air bubbles that might appear on the surface of the wax part.
 For this base a second mold is used to create the light cluster stem in wax. Because the stem must be hollow, the wax is poured into the mold, swirled around and poured back out several times, building up thin layers of wax until the desired wall thickness for the part has been achieved. The hot wax must be at just the right temperature so it coats but does not melt the previous layer. Once all the waxes are cast, the parts are then taken to our local bronze foundry. For the next steps, we will be using a Mermaid base as an example.
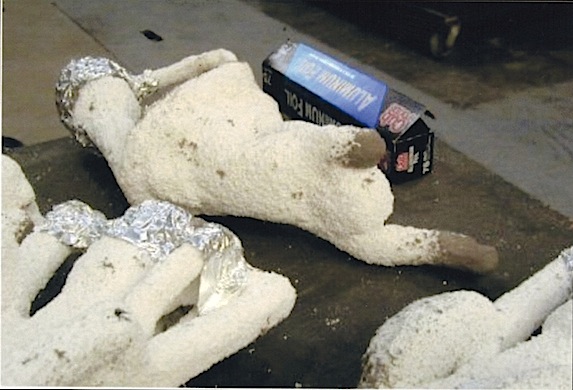
At the foundry, the waxes are “gated”. Wax rods are attached to the pieces to create a pathway for the bronze to enter the mold while the air in the mold has an escape route. Once the wax gateways have been added, the process of creating the mold begins by dipping the wax into a thin silica slurry that completely coats the surface. After the first layer of slurry has dried, the dipping process will be repeated about 13 times until the mold reaches the desired thickness. Successive layers are added in a more viscous silica slurry and the mold is strengthened by the addition of a crystalline silica which gives the finished mold the appearance of stucco. Once completely dry, the piece is set into a kiln and the wax is melted out, hardening the shell in the process.
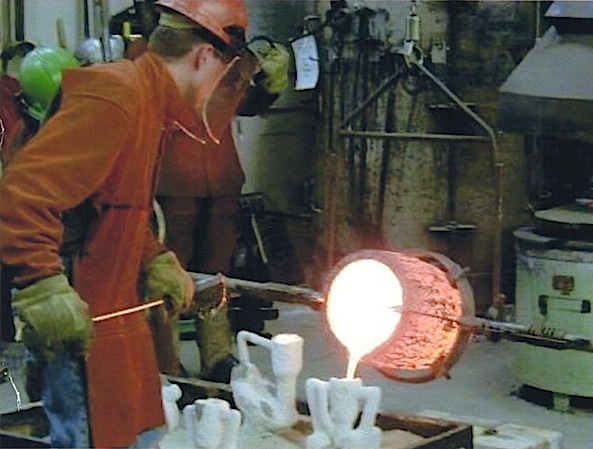
While hot, the molds are stood up in a large sand box and the molten bronze is gently poured into each hot mold. The bronze is heated in a furnace to 2200 degrees and a crucible of molten bronze is moved over the top of each mold and tipped to pour the bronze. In the photo, Irwin Terry is carefully pouring the bronze into one of the molds. Irwin is on the left wearing the green hard hat, and is mostly blocked from view by the man in charge of the pour. This photo was taken at the Minneapolis College of Art and Design in 2001 where Irwin took several classes in bronze casting so we would be able to have a first hand understanding of the process and be able to interact knowledgeably with our local foundry.
Here is a link to a video of a bronze pour which was made at the foundry we use: https://www.youtube.com/watch?v=0eSYMdWkTnw
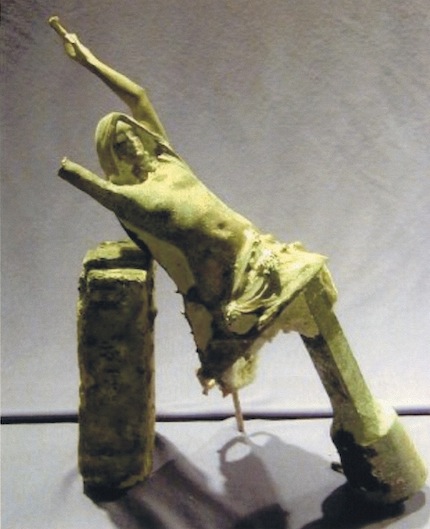 Once the bronze has cooled to room temperature, the investment mold is broken away and the raw bronze casting is revealed. The gating is still visible on this Mermaid base, and not all of the investment mold material has been removed. After the gates are removed, the process of chasing (hand cleaning) and finishing the raw bronze parts will begin.
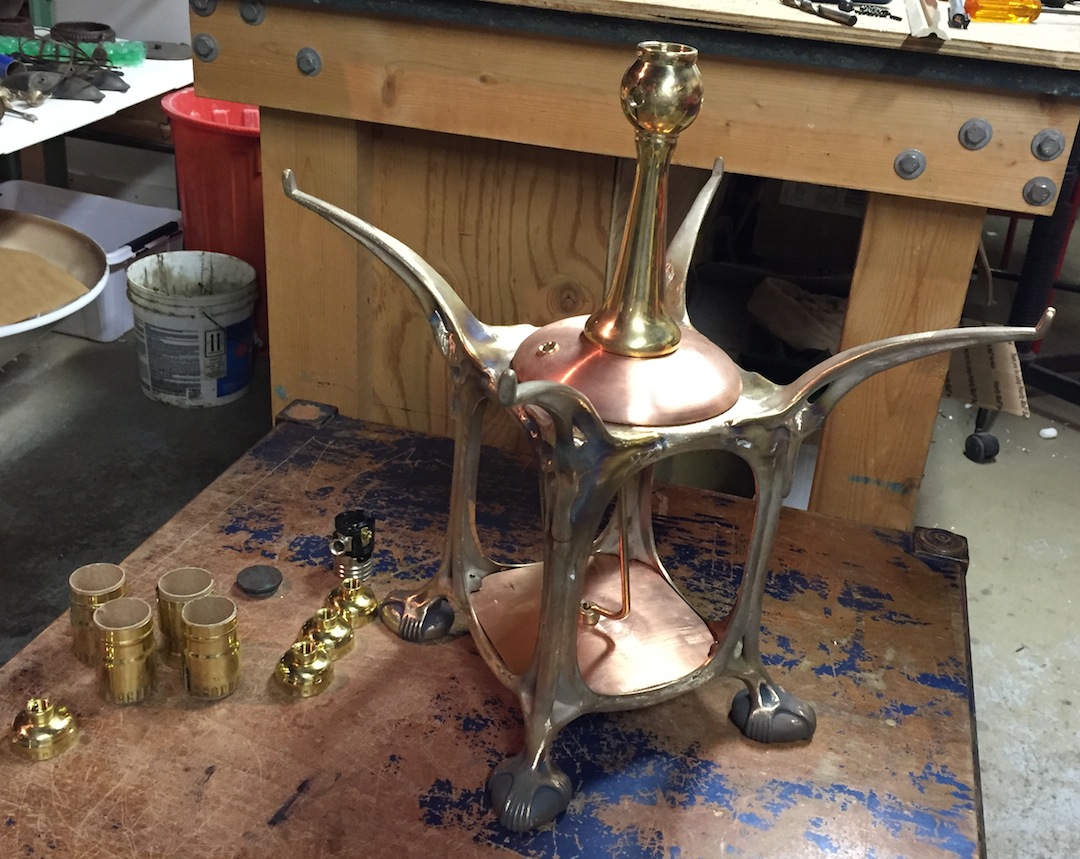
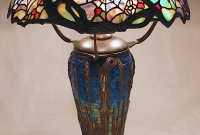
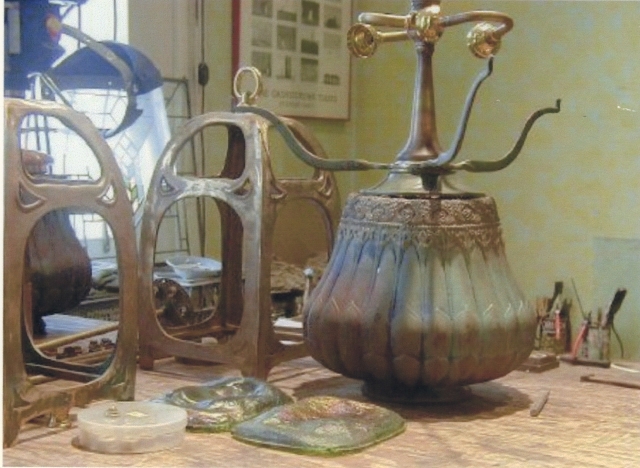
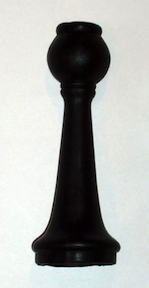
The gates and excess investment mold material removed, the parts are now ready to have a final cleanup. Drilling and tapping will occur at this stage as parts are being fit together. For the Square Turtleback base, a spun copper collar is added that will support the light cluster stem. In the photo above, we still have not drilled the light stem and added the light cluster arms and sockets. To reproduce the Square Turtleback base shown above, we employ the talents of our bronze foundry, a metal spinner for the spun copper collar, and a glass maker to press the turtleback tiles.
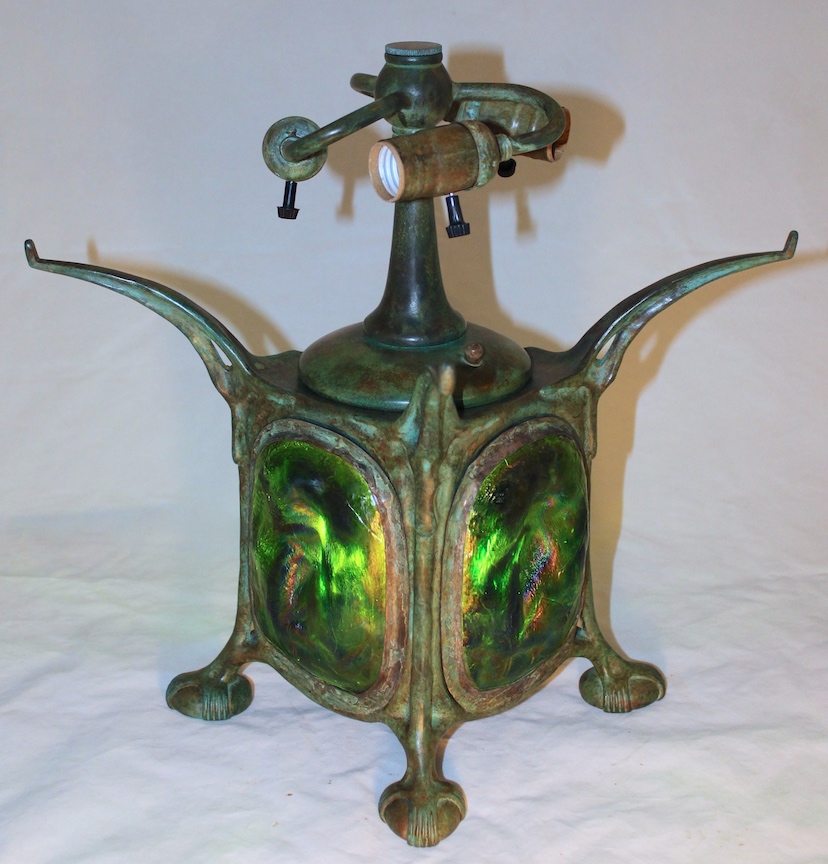
Each part used in a lamp base is then patinated to give the pieces a Tiffany finish. The patina process takes several days and each part is waxed by hand before final assembly. The electrical are added and the base is ready for a shade.